• HELLO
  • ABOUT
  • WORK
  • BLOG
  • CONTACT
  • SHOP
Menu

tricia royal

textile artist and designer
  • HELLO
  • ABOUT
  • WORK
  • BLOG
  • CONTACT
  • SHOP
IMG_0186.jpg

52 weeks of surface design: weeks 3 and 4: relief printing

November 2, 2018
IMG_0187.jpg

#52weeksofsurfacedesign: weeks 3 and 4: relief printing! 


i am combining weeks 3 and 4 due to a family visit and a long-awaited 20th wedding anniversary trip to Vegas with my partner @osi_ ! 


#reliefprinting has been my jam for a few months! some of my blocks are cut out of legit lino block material, but most of them are quick and dirty stamps made from adhesive #craftfoam and scraps of wood (scroll to last photo). for inks i’ve been using fabric screenprinting inks like those made by @blickartmaterials @prochemicalanddyeand @speedball_art — i apply it using a small paint trim roller like the ones used and recommended by @jenhewett.

IMG_0007.jpg

i also use a padded printing surface, which consists of a piece of plywood, a thin layer of carpet padding, covered with a stretched piece of canvas dropcloth. if anyone is interested, i may be able to do a DIY on how i made said printing surface. it’s modeled after the print tables i used at @textilesatlillstreet.


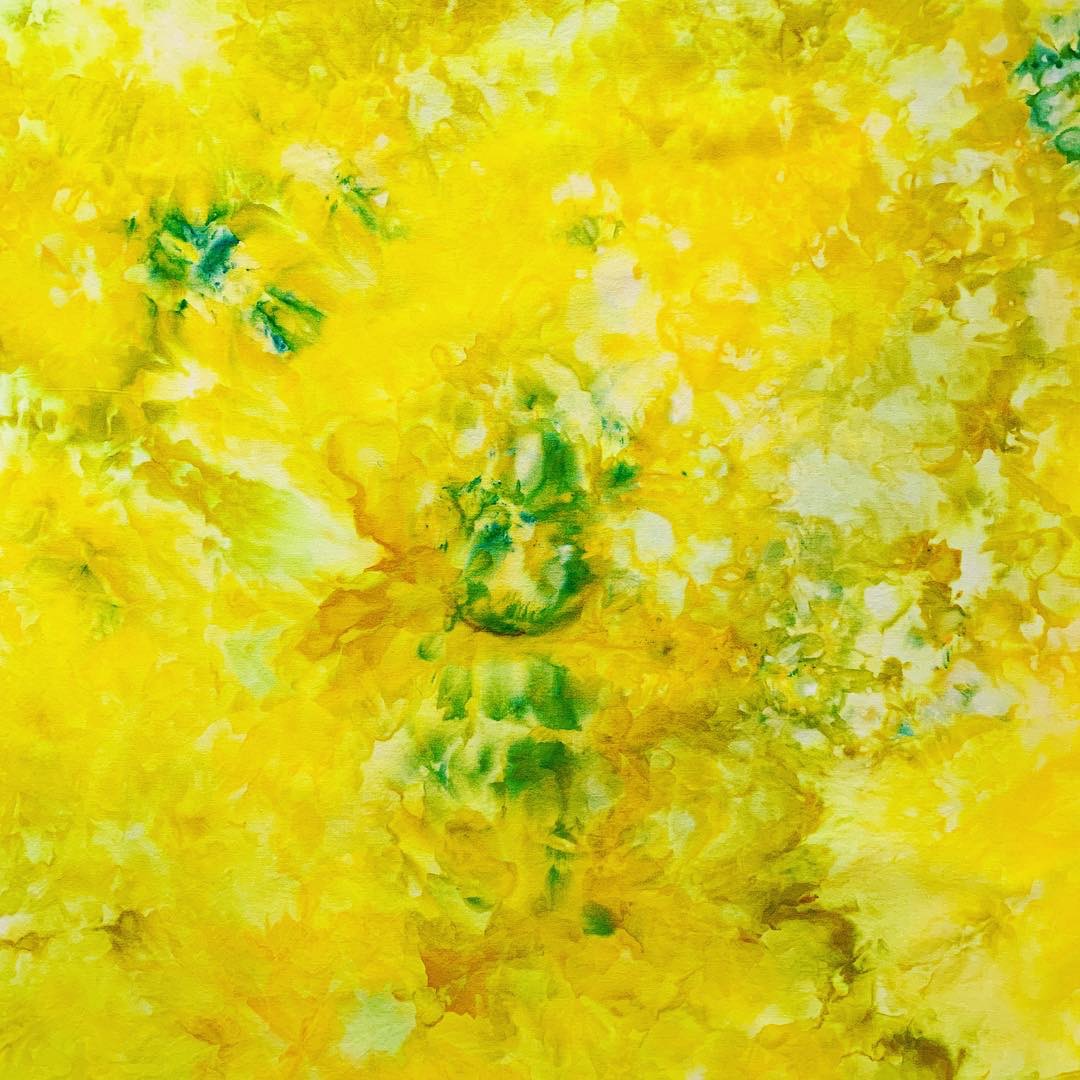
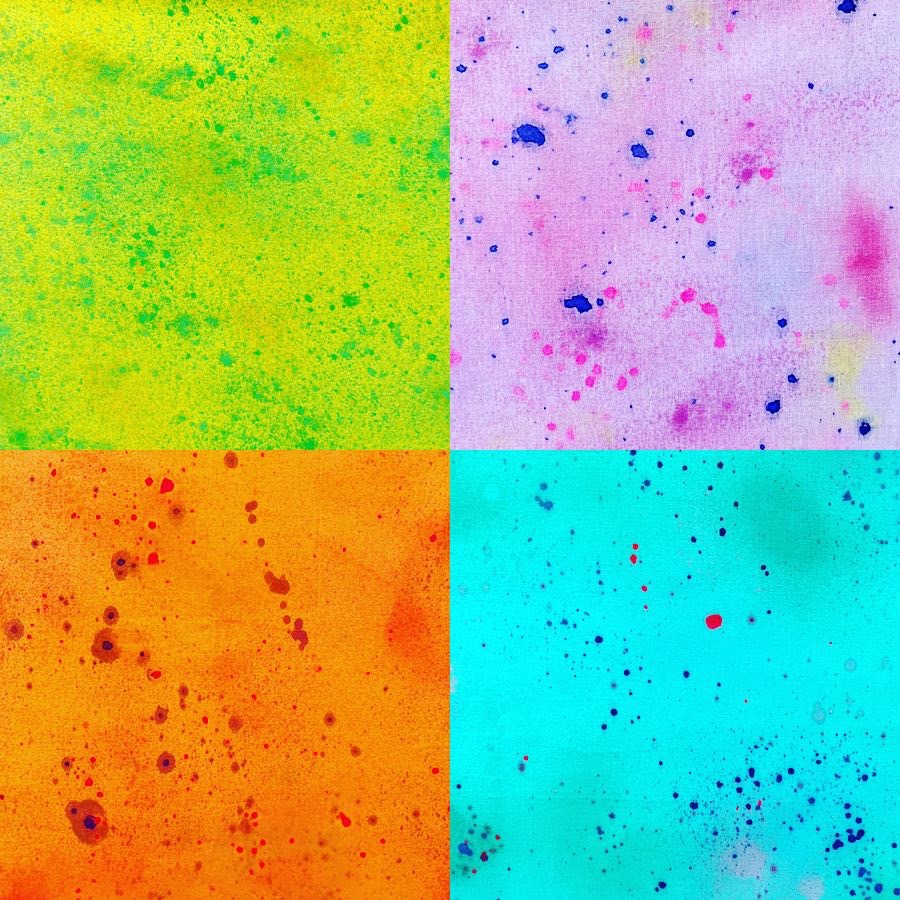
i have made all kinds of motifs but i have found that simple shapes hold a tremendous amount of possibility. it’s incredibly fun to layer simple shapes and colors and see how said shapes and colors interact with one another and with the base fabric to which they are applied. to simplify and limit my play, i’ve been cutting out stacks of 6” blocks with my @accuquilt Studio cutter and have been applying my motifs in different places and arrangements and seeing what results.

IMG_0151.jpg
IMG_0109.jpg

52 weeks of surface design: week two: ice dyeing

October 16, 2018

52 weeks of surface design: week two: ice dyeing!

have you all ever tried this? it’s so fun!

this week’s surface design experiment was inspired by my online pal @apriltwoeightyquilts who makes stunning quilts and home accessories out of hand dyed fabric. she graciously and generously shared some of her tips on ice dyeing with me over the past few weeks. her tips, coupled with a tutorial on @dharmatradingco website (this tutorial in particular) had me ice dyeing in no time.  i had tried it once when i was the resident artist at lillstreet in chicago (using snow!), but it had been a few years and i thought i’d give it a shot as a part of this 52 weeks project.


it’s a pretty easy process. basically, you need ice, powdered fiber reactive MX dyes, a bin with sides, and some sort of rack to sit in the bin on which your fabric will in turn sit, allowing dye and water to precipitate through as the ice melts (the rack keeps the fabric from touching the puddle of melted ice and dye in the bin below). make sure to soak your fabric in a soda ash solution first, pile on ice, sprinkle on dye powder...and wait for the ice to melt. voila!

IMG_0108.jpg

i found that the ice took a long time to melt, longer than one might expect. i got everything set up in the afternoon, and let all of them sit more or less overnight, washing the fabrics out in the morning. the first time i played with ice dyeing, last week, i used two colors i had on hand on each piece of fabric. the second time, i used only one color of dye per piece of fabric. what’s fun is that you can really play around…keeping the colors you use limited or playing around with more than one color, seeing how they colors mix and react with one another as the ice melts. it’s a really serendipitous, surprising process, you never know exactly how a finished piece will look, and i think that’s the fun of it. all of the fabrics seen above were dyed with only one color, and the fabric below is a mix of yellow and green.

IMG_0110.jpg

places to find procion MX dyes and auxiliaries:

dharma trading company

pro chemical and dye

IMG_0065.jpg

52 weeks of surface design: intro and week 1: spray and splatter paint

October 10, 2018
IMG_0064.jpg

i’ve been thinking about doing a daily or weekly project for some time now. lots of artists i admire have taken it upon themselves to commit to these projects. i love seeing the results of others explorations and watching them grow and progress in their art/craft through these projects, sometimes creating a body of work, and almost always finding that new avenues of artistic growth have been discovered. so i decided to make a commitment to my own project: 52 weeks of surface design.

i have been playing around with surface design on textiles for several years now (really, since college, many many years ago); more recently i’ve been exploring the possibilities of the same on paper. I wanted to make a commitment to myself to keep experimenting and trying different techniques and permutations and see what comes of it in a year’s time.

i chose surface design because i feel like the possibilities are so endless: painting, dyeing, screen printing, relief printing, and more.

i thought 52 weeks seemed the most realistic; every day seemed unrealistic given the demands of life and parenting. a week gives me plenty of time to find the time to explore a technique in the dibs and drabs of time that i have. sometimes i may even get a small project seen through to fruition! some weeks will likely be in-process ideas and experiments, others, finished projects. 
this here? i imagine some weeks i’ll be more productive than others, and that is a-👌.

i plan to blog about this project weekly, as an impetus to give this fairly dormant blog a kick in the backside ☺️ #accountability

***

 
what’s seen here? week 1: spray and splatter painted fabric!

a veritable rainbow of vintage and new solid fabrics i sprayed with fabric paints — some i painted last year at @textilesatlillstreet but more than half of this color wheel is from this past week, the results of multiple hours in my garage studio. 

IMG_0085.jpg

a fun and fast technique that i’ve been playing around with for about a year. it works best if you start with fairly light, pastel colored solid fabric, as you can add color and build up as you go. if the base fabric is darker, the added colors will likely blend in and not be as visible. i like to start by adding monotone and analogous colors, and then add contrasting colors for zip and interest. you can vary the way the spray looks by varying the distance of the bottle to the fabric. if you hold the bottle further away, you get more of a fine mist, and if you spray closer, you get rings or large splotches or dots. i also like to open the spray bottle and shake the tube inside to get large drip marks. pipettes (you can get these from @dharmatradingco) might also be fun to experiment with; i bought some last week for a different project, i’ll update with the results i the future. i also put some DyNaFlow paints by @jacquardproducts in spray bottles and it worked beautifully as well; the paints are very watery and thin and penetrate through the fabric like dyes.

when i’m done painting a piece of fabric, i hang the fabric to dry and then throw the pieces into the dryer for an hour on high to heat set.  you may want to use a pressing cloth when ironing your fabric; i noticed some transfer to my iron’s soleplate when i was pressing my fabric after heat settling. nothing that a little soleplate cleaner won’t fix, though!

IMG_0086.jpg

the paint i used: @marabucreativeusa Fashion Spray and @ilovetocreate Tulip Fabric Spray Paint. i’ve also had some luck with diluted @jacquardproducts fabric paint and travel spray bottles from @target — Marabu can be found at @blickartmaterials or @dharmatradingco and @ilovetocreate can be found at @joann_stores.

if you give this technique a shot, let me know!

← Newer Posts Older Posts →

Latest Posts

Featured
Jul 25, 2022
my approach to color
Jul 25, 2022
Jul 25, 2022
Jul 17, 2022
rope dope dope rope
Jul 17, 2022
Jul 17, 2022
Jul 15, 2022
scrap hoarders anonymous
Jul 15, 2022
Jul 15, 2022
Jul 14, 2022
black and white hand-painted quilt coat
Jul 14, 2022
Jul 14, 2022
Jun 8, 2021
interesting links: june 8 2021
Jun 8, 2021
Jun 8, 2021
May 31, 2021
starting fresh.
May 31, 2021
May 31, 2021

Powered by Squarespace